🔴 Why bother running AI at home?
Fair question, right? Why run AI at home at all? And actually, let’s back up further: what even is AI?
What is AI?
According to Wikipedia:
Artificial intelligence (AI) is the capability of computational systems to perform tasks typically associated with human intelligence, such as learning, reasoning, problem-solving, perception, and decision-making.
In short, AI means using mathematical functions and operations to automate and speed up complex tasks by reproducing human behaviors like reading, seeing, writing, or understanding language. Thanks to these calculations, machines can learn to recognize images, understand text, make decisions, or even generate content — often faster and sometimes better than we can (though honestly, that’s debatable).
But why run AI at home?
For starters, I like having full control over what I do and the tools I use. Not out of paranoia, but because I like understanding things my own way — not the way a cloud provider, a SaaS product, or any other entity has decided things should work. It lets me actually learn what AI is, get into the hardware and software side of it, and run into problems you just don’t encounter anywhere else.
But there are also several much more concrete use cases:
- Data sovereignty: keeping full control over your sensitive data.
- Cost savings: avoiding the steep costs of cloud services, especially over the long run.
- Model customization: training or fine-tuning models specifically tailored to your own needs.
- Privacy and security: reducing the risk of data leaks or theft.
- Availability and latency: getting fast access to your AI services, even without internet.
🔧 My setup
The hardware
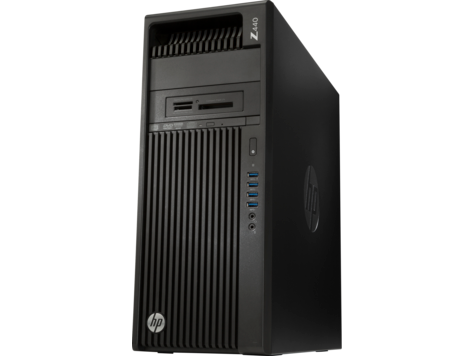
My setup is built around an HP Z440 and includes:
- HP 700W power supply
- Intel Xeon E5-1620 v3 @ 3.50GHz
- 32 GB RAM DDR4 ECC 2133MHz
- Samsung EVO 250 GB SSD
- Quadro K2200 4 GB
- GTX 1050 Ti 4 GB
- GT 1030 2 GB
I got the Z440 with the CPU, PSU, and Quadro K2200 for €45. The RAM came from Ebay for €30.
Everything else came from spare parts I already had lying around!
Total cost: €75
Price Nintendo is asking for Mario Kart World: €79.99
P.S. I’d also managed to snag a nice AMD Radeon Instinct Mi50 16 GB for €129, but it decided to give up the ghost… Unfortunately I couldn’t figure out why.
The software
For the OS, I went with Ubuntu Server 24.04. Why? Because Ubuntu makes installing NVIDIA drivers a whole lot easier and has better support for AI and compute workloads than other distros like Debian.
On the apps and languages side:
- Ollama: for running LLMs
- NVtop: for monitoring GPU usage, htop-style
- Docker: for containerizing my apps and services
⚙️ Setting up the prerequisites
This is the slightly annoying part. Getting all the prerequisites in place for the apps mentioned above takes time, documentation, and a fair amount of patience.
Installing the NVIDIA drivers & NVtop
First, let’s list the available drivers:
sudo ubuntu-drivers devices
== /sys/devices/pci0000:00/0000:00:02.0/0000:02:00.0 ==
modalias : pci:v000010DEd000013BAsv0000103Csd00001097bc03sc00i00
vendor   : NVIDIA Corporation
model    : GM107GL [Quadro K2200]
driver   : nvidia-driver-470 - distro non-free
driver   : nvidia-driver-535-server - distro non-free
driver   : nvidia-driver-550 - distro non-free
driver   : nvidia-driver-570-server - distro non-free
driver   : nvidia-driver-570 - distro non-free recommended # <=====
driver   : nvidia-driver-470-server - distro non-free
driver   : nvidia-driver-535 - distro non-free
driver   : xserver-xorg-video-nouveau - distro free builtin
P.S. Only one card shows up here, which is expected — it’s the one with the oldest dependencies.
Then:
sudo ubuntu-drivers autoinstall
And there we go — with Ubuntu, it’s almost too easy.
Now for NVtop:
sudo apt install -y nvtop
Let’s check everything:
nvidia-smi # System Management Interface (gives us more detailed info about our graphics cards)
+-----------------------------------------------------------------------------------------+
| NVIDIA-SMI 570.133.07             Driver Version: 570.133.07     CUDA Version: 12.8     |
|-----------------------------------------+------------------------+----------------------+
| GPU  Name                 Persistence-M | Bus-Id          Disp.A | Volatile Uncorr. ECC |
| Fan  Temp   Perf          Pwr:Usage/Cap |           Memory-Usage | GPU-Util  Compute M. |
|                                         |                        |               MIG M. |
|=========================================+========================+======================|
|   0  NVIDIA GeForce GT 1030         Off |   00000000:01:00.0 Off |                  N/A |
|  0%   33C    P8            N/A  /   30W |       4MiB /   2048MiB |      0%      Default |
|                                         |                        |                  N/A |
+-----------------------------------------+------------------------+----------------------+
|   1  Quadro K2200                   Off |   00000000:02:00.0  On |                  N/A |
| 42%   31C    P8              1W /   39W |      10MiB /   4096MiB |      0%      Default |
|                                         |                        |                  N/A |
+-----------------------------------------+------------------------+----------------------+
|   2  NVIDIA GeForce GTX 1050 Ti     Off |   00000000:03:00.0 Off |                  N/A |
|  0%   25C    P8            N/A  /  120W |       5MiB /   4096MiB |      0%      Default |
|                                         |                        |                  N/A |
+-----------------------------------------+------------------------+----------------------+

+-----------------------------------------------------------------------------------------+
| Processes:                                                                              |
|  GPU   GI   CI              PID   Type   Process name                        GPU Memory |
|        ID   ID                                                               Usage      |
|=========================================================================================|
|  No running processes found                                                             |
+-----------------------------------------------------------------------------------------+
OK! All our cards are showing up, so now let’s test NVtop
nvtop
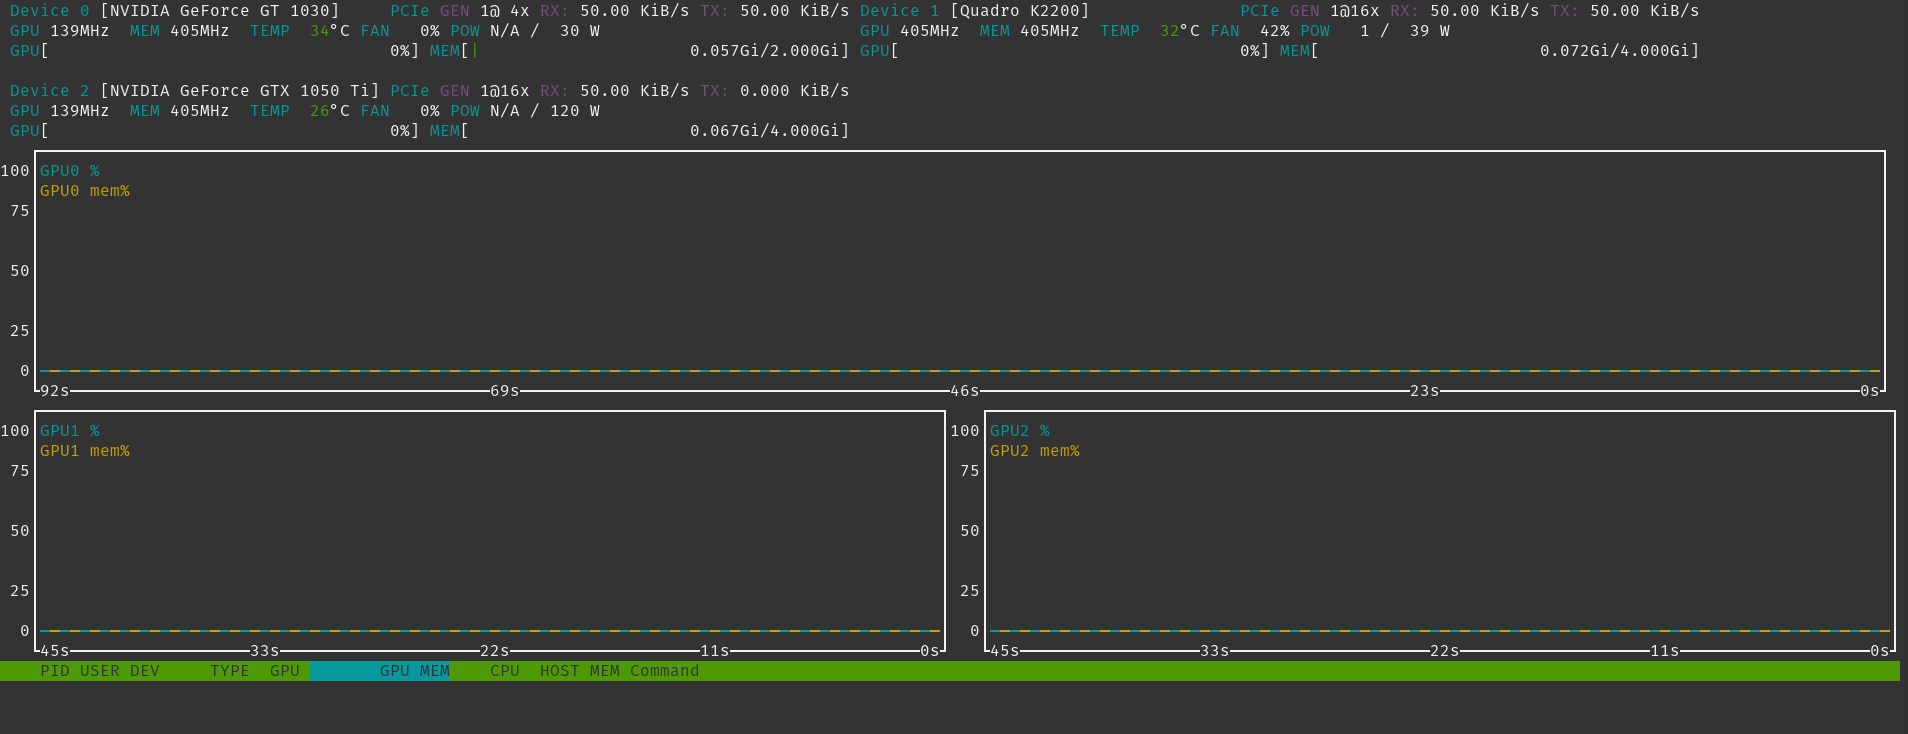
Beautiful!
Installing Docker & the Nvidia Container Toolkit
Nvidia Container Toolkit? What on earth is this thing now?
It’s what’s going to let us use our graphics cards (GPUs) inside Docker containers.
Before we get to that step, we need to install Docker:
curl https://get.docker.com | sh
P.S. This install method is quick, but avoid it in production! If
get.docker.comwere ever compromised, malware or something worse could take over your machine in no time.
And now, the Nvidia Container Toolkit:
curl -fsSL https://nvidia.github.io/libnvidia-container/gpgkey | sudo gpg --dearmor -o /usr/share/keyrings/nvidia-container-toolkit-keyring.gpg \
  && curl -s -L https://nvidia.github.io/libnvidia-container/stable/deb/nvidia-container-toolkit.list | \
    sed 's#deb https://#deb [signed-by=/usr/share/keyrings/nvidia-container-toolkit-keyring.gpg] https://#g' | \
    sudo tee /etc/apt/sources.list.d/nvidia-container-toolkit.list
This command adds the official repositories for the Nvidia Container Toolkit and the necessary GPG keys.
Let’s update our sources:
sudo apt update
Now install the required packages:
export NVIDIA_CONTAINER_TOOLKIT_VERSION=1.17.8-1 # Make sure to use the latest version to get all the updates and patches!
  sudo apt-get install -y \
      nvidia-container-toolkit=${NVIDIA_CONTAINER_TOOLKIT_VERSION} \
      nvidia-container-toolkit-base=${NVIDIA_CONTAINER_TOOLKIT_VERSION} \
      libnvidia-container-tools=${NVIDIA_CONTAINER_TOOLKIT_VERSION} \
      libnvidia-container1=${NVIDIA_CONTAINER_TOOLKIT_VERSION}
Now, on to the technical part:
sudo nvidia-ctk runtime configure --runtime=docker
This command updates the /etc/docker/daemon.json file to tell Docker to use the Nvidia Container Toolkit runtime, so it can talk to the GPUs in a way that’s more secure, more stable, and more standardized than just mounting the GPU(s) as devices inside containers.
And then we restart Docker so the changes take effect:
sudo systemctl restart docker
Quick test:
sudo docker run --rm --gpus all nvidia/cuda:12.2.0-base-ubuntu22.04 nvidia-smi
+-----------------------------------------------------------------------------------------+
| NVIDIA-SMI 570.133.07             Driver Version: 570.133.07     CUDA Version: 12.8     |
|-----------------------------------------+------------------------+----------------------+
| GPU  Name                 Persistence-M | Bus-Id          Disp.A | Volatile Uncorr. ECC |
| Fan  Temp   Perf          Pwr:Usage/Cap |           Memory-Usage | GPU-Util  Compute M. |
|                                         |                        |               MIG M. |
|=========================================+========================+======================|
|   0  NVIDIA GeForce GT 1030         Off |   00000000:01:00.0 Off |                  N/A |
|  0%   36C    P8            N/A  /   30W |       4MiB /   2048MiB |      0%      Default |
|                                         |                        |                  N/A |
+-----------------------------------------+------------------------+----------------------+
|   1  Quadro K2200                   Off |   00000000:02:00.0  On |                  N/A |
| 42%   32C    P8              1W /   39W |      10MiB /   4096MiB |      0%      Default |
|                                         |                        |                  N/A |
+-----------------------------------------+------------------------+----------------------+
|   2  NVIDIA GeForce GTX 1050 Ti     Off |   00000000:03:00.0 Off |                  N/A |
|  0%   27C    P8            N/A  /  120W |       5MiB /   4096MiB |      0%      Default |
|                                         |                        |                  N/A |
+-----------------------------------------+------------------------+----------------------+

+-----------------------------------------------------------------------------------------+
| Processes:                                                                              |
|  GPU   GI   CI              PID   Type   Process name                        GPU Memory |
|        ID   ID                                                               Usage      |
|=========================================================================================|
|  No running processes found                                                             |
+-----------------------------------------------------------------------------------------+
And there it is! All our GPUs are visible and usable by our containers!
P.S. it’s the
--gpus allflag that makes all the GPUs visible to the container.
🖱️ Now for the fun part:
All the prerequisites are installed, so we can finally have some fun!
Ollama and language models:
To start off, we’re going to use Ollama, a great tool that lets us install and run language models like:
No containers here (even though that’s possible too), let’s not overcomplicate things:
curl -fsSL https://ollama.com/install.sh | sh
And we’re all set:
ollama run gemma3:1b
I picked a simple prompt like You are a history teacher and you are going to teach me something about the city of New York.
And let’s take a look at our GPU usage via NVtop:
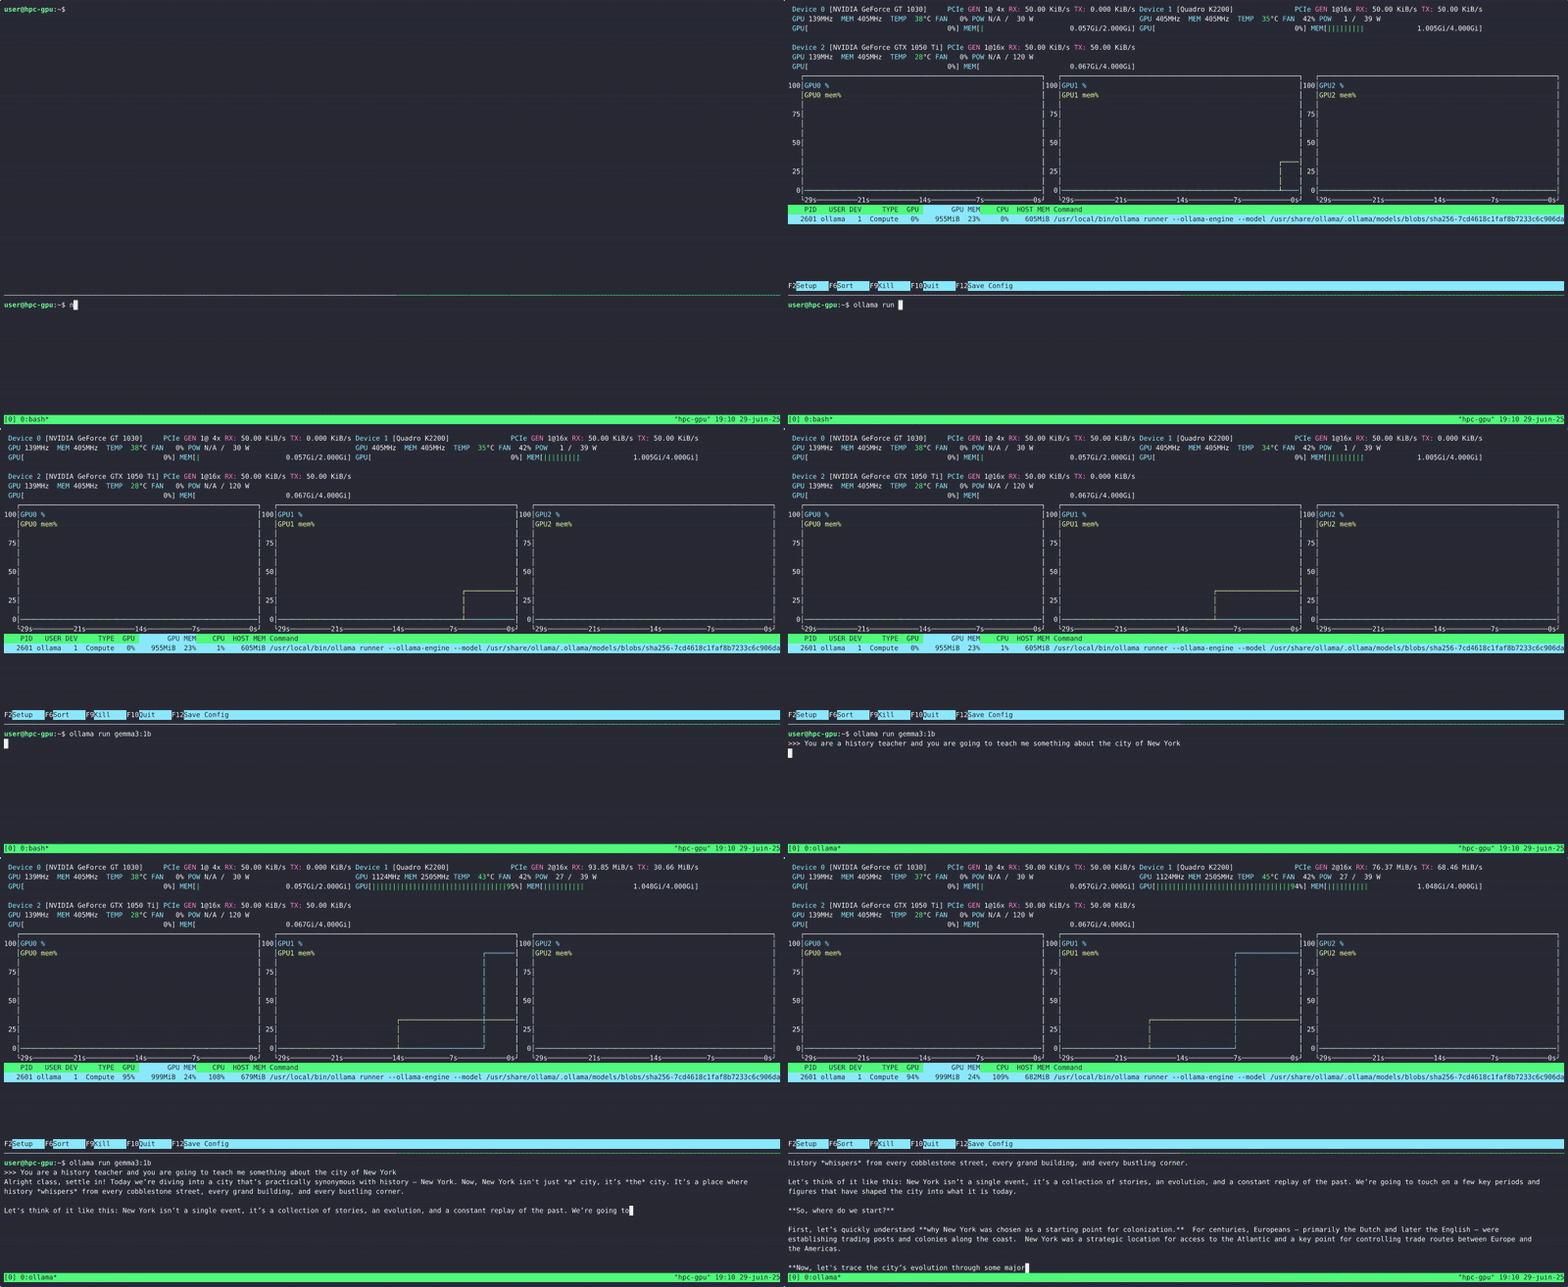
Perfect! We managed to run language models on our GPUs (here only one is used, due to the model’s size being around 800MB).
Tensorflow and training:
Using models is nice, but coding one yourself is even better!
Fair warning, this next part is going to get pretty technical. We’re going to talk about:
- Tensorflow: a Python library for AI and machine learning.
- Dataset: the data we use as the basis for training our model.
- Jupyter Notebook: an interactive web environment for developing and visualizing our model.
- Deep Convolutional Generative Adversarial Network (DCGAN): pitting two machine learning models using convolution against each other — one creates images, the other pushes the first one to make more realistic images.
Honestly, I’m not going to write any code myself here. I’m going to use the code TensorFlow provides to see whether it’s even possible to train a model on my server.
P.S. Training and inference for an AI model are completely different in terms of resource usage. Generally speaking, training a model consumes far more resources than running inference on one.
First, a little magic. Instead of messing with complicated network configuration, we’re going to open an SSH tunnel:
ssh -L 8888:0.0.0.0:8888 user@gpu-server
Why? Because by default, a Jupyter server only listens on localhost (127.0.0.1).
Next, let’s fire up our Docker container:
sudo docker run --gpus all -it --rm -p 8888:8888 quay.io/jupyter/tensorflow-notebook:cuda-ubuntu-24.04
And now it’s time for the fun part!
We connect to our notebook using the URL Jupyter gives us, and tada!
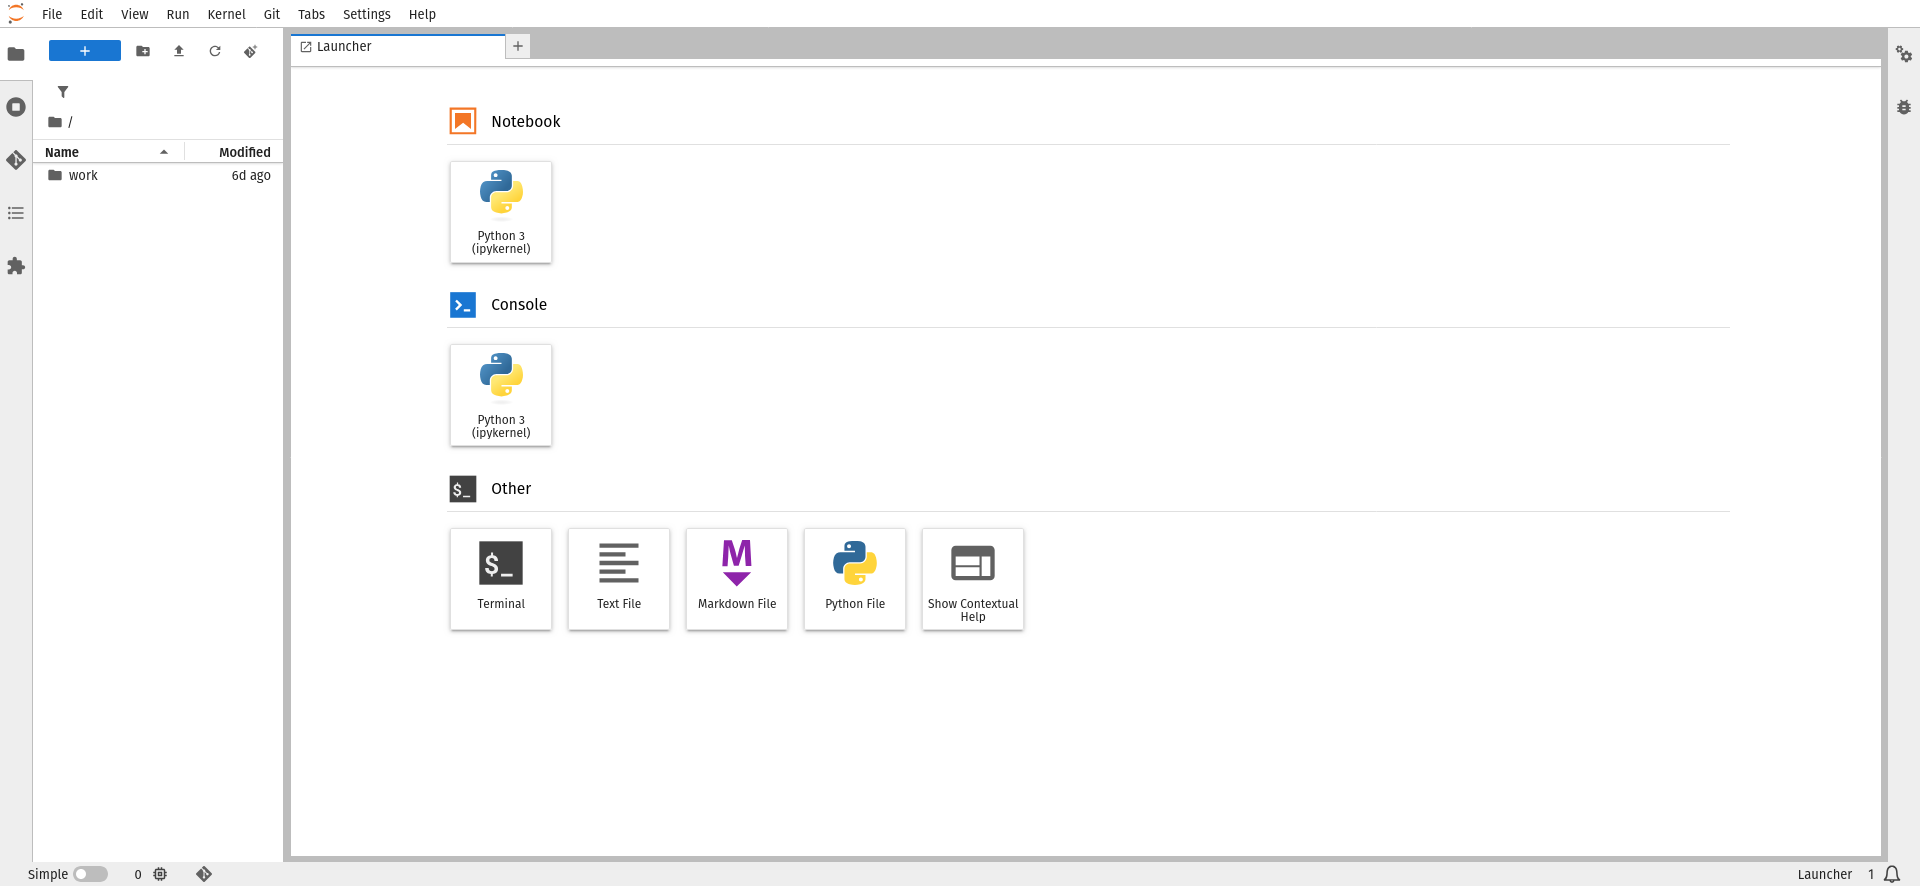
We import the DCGAN notebook from Tensorflow into the root of the folder.
Now we run it and wait.
What does the notebook actually do?
To simplify, the notebook does the following, in order:
- Imports the necessary libraries
- Loads the Dataset MNIST (60k images of handwritten digits from 0 to 9)
- Creates the
generatormodel, which creates images of numbers starting from noise (a greyscale image made of random pixels) - Creates the
discriminatormodel, which tells thegeneratorwhether an image is real or fake based on the Dataset, so it can generate more realistic images - Sets up the training loop, which generates 16 images over 50 iterations (EPOCHS), and saves a
checkpoint(a snapshot of the general model’s weights over time) every 15 iterations. - And finally builds a nice GIF to show us how the generated images evolved at each iteration.
After 30.501 seconds here’s our 1st generation:
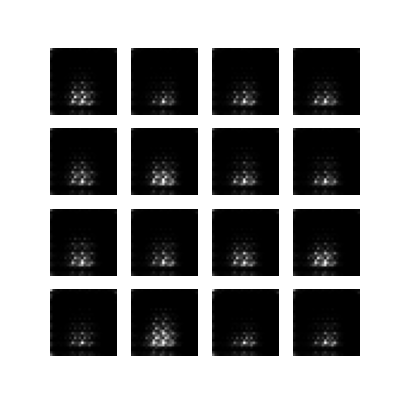
It’s blurry, you can’t make anything out — that’s completely normal! It’s only the first generation, training has barely started.
While we wait for training to finish, let’s take a look at what’s happening on the resource usage side:
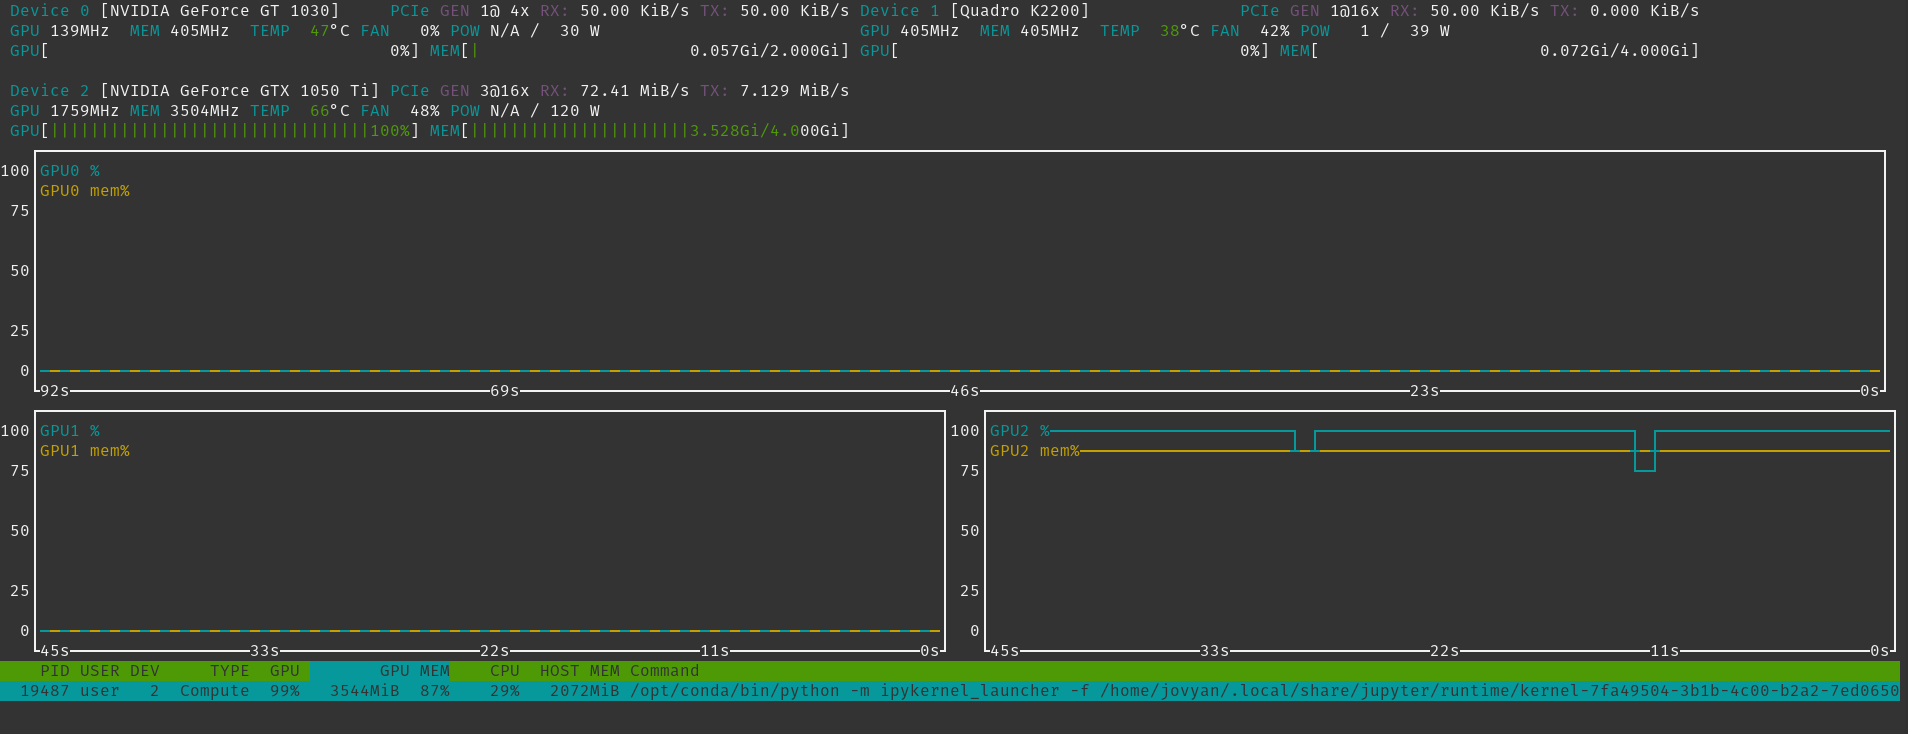
WOW! VRAM maxed out, GPU usage at nearly 100%. But why only one GPU? I’ve got 3!
It’s very simple. Training a model across multiple GPUs is possible, but not without extra configuration.
The notebook we’re using isn’t coded to run across multiple GPUs. But don’t worry, that’ll be the subject of a future article.
Ah, it’s done! The model has finished training.
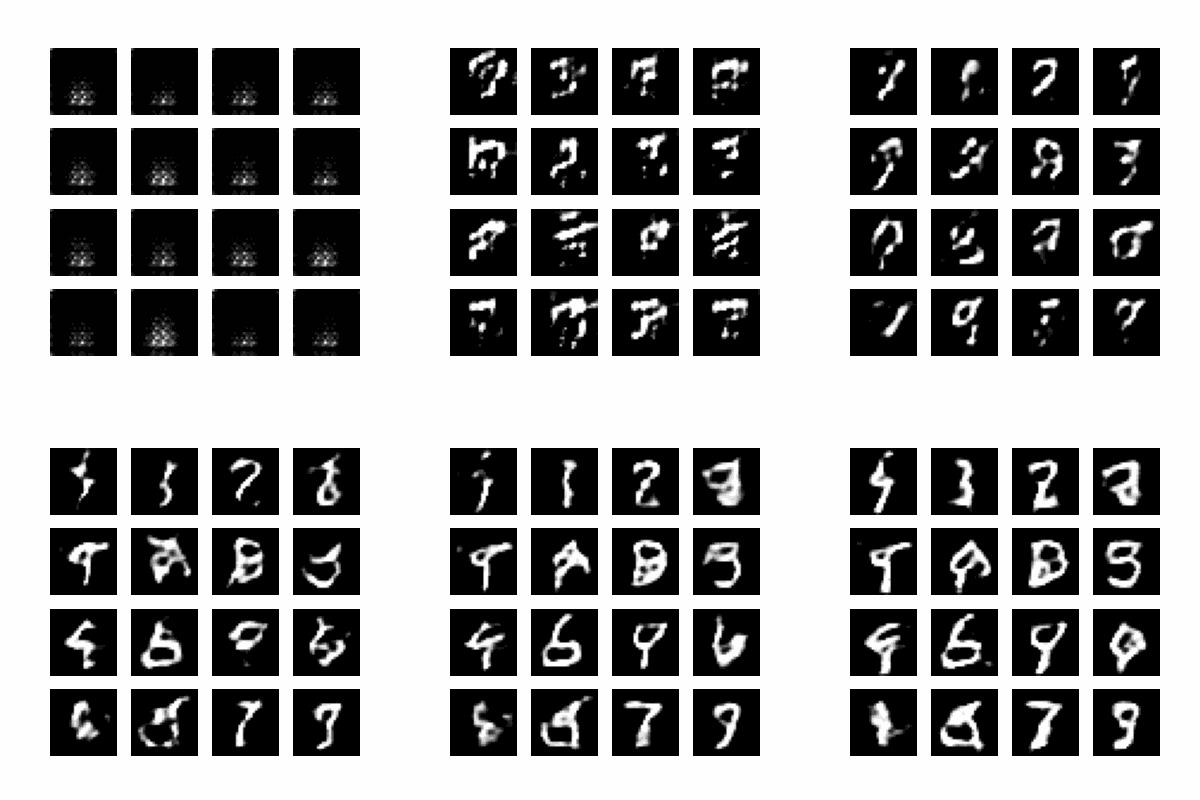
Well… it’s ugly, but it worked! You can fairly clearly make out some digits:
4 | 3 | 2 | ?
9 | 8 | ? | 9
? | 6 | 9 | ?
? | ? | 7 | 9
Out of 16 digits, only 4 are really unreadable, but we’ve proven we can train a model!
🔚 Conclusion
After all that, what did we actually learn?
For under €80, we managed to install a whole bunch of AI-related tools, we trained an image-generating AI model, we used an LLM to ask it questions — but was it actually worth it?
Honestly, in my opinion… absolutely!
Sure, OK, in terms of power consumption we’re quickly going to be in the red, and the GPUs I’m using are really not optimal if I want to become the next OpenAI.
But I learned a ton:
- Setting up a containerized development environment to train an image-generation model
- Getting my feet wet with GPU usage monitoring
- Running an LLM locally
- Even though we didn’t really see it here, having 3 GPUs doesn’t magically mean I can do more
And all that for less than the price of Mario Kart World!
P.S. I might do a second article with more details, more tests, and maybe even cloud gaming.